> For the complete documentation index, see [llms.txt](https://help.inventora.com/llms.txt). Markdown versions of documentation pages are available by appending `.md` to page URLs; this page is available as [Markdown](https://help.inventora.com/getting-started/sales.md).
# Sales
Track your sales by channel preventing overselling and ensuring inventory accuracy.
## On this page
* [**Add a Sale Manually**](#add-a-sale-manually)
* [**Create an Invoice**](#create-an-invoice)
* [**Add Custom Notes to Invoices**](#add-custom-notes-to-invoices)
## Add a Sale Manually
1. From your dashboard, make sure you select **Sales** on the sidebar to access your Sales page.
2. In the upper right corner click on **Add** **Sale.**
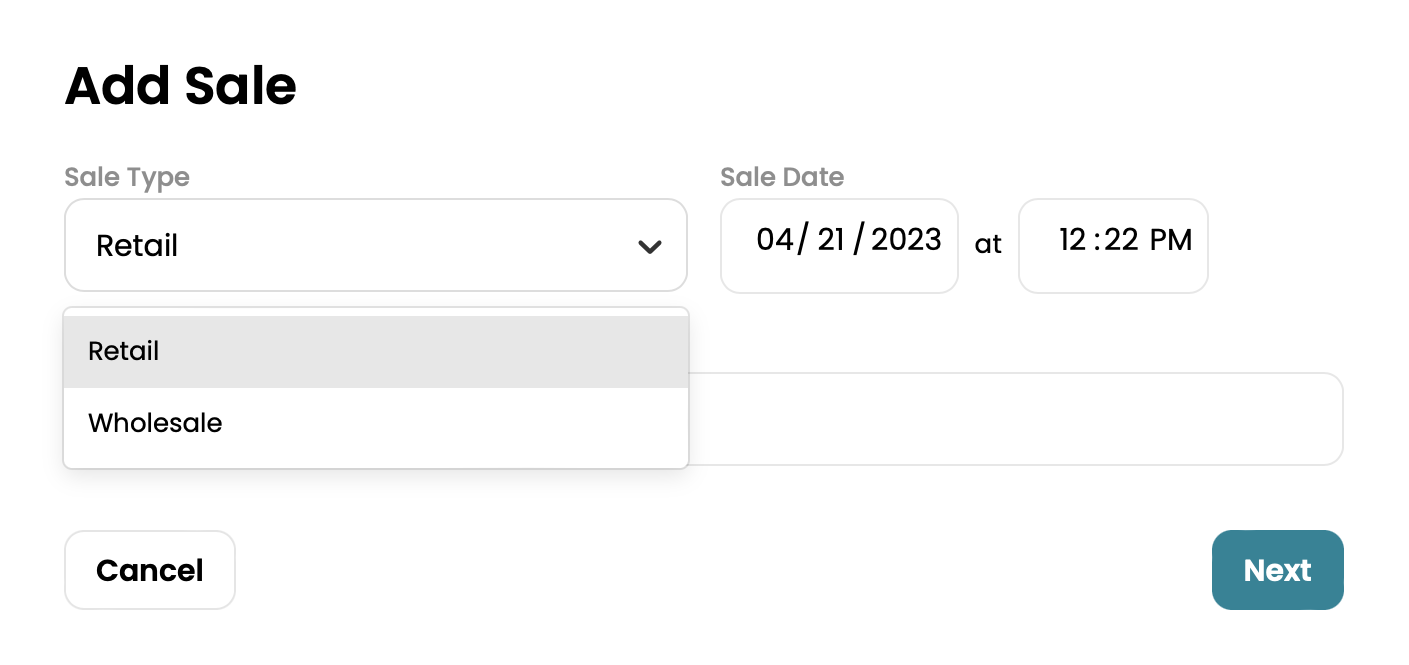
3. Enter your **Sales Type**, along with the date and time.
4. Select your **Customer** or create a new customer.
5. Click **Next**.
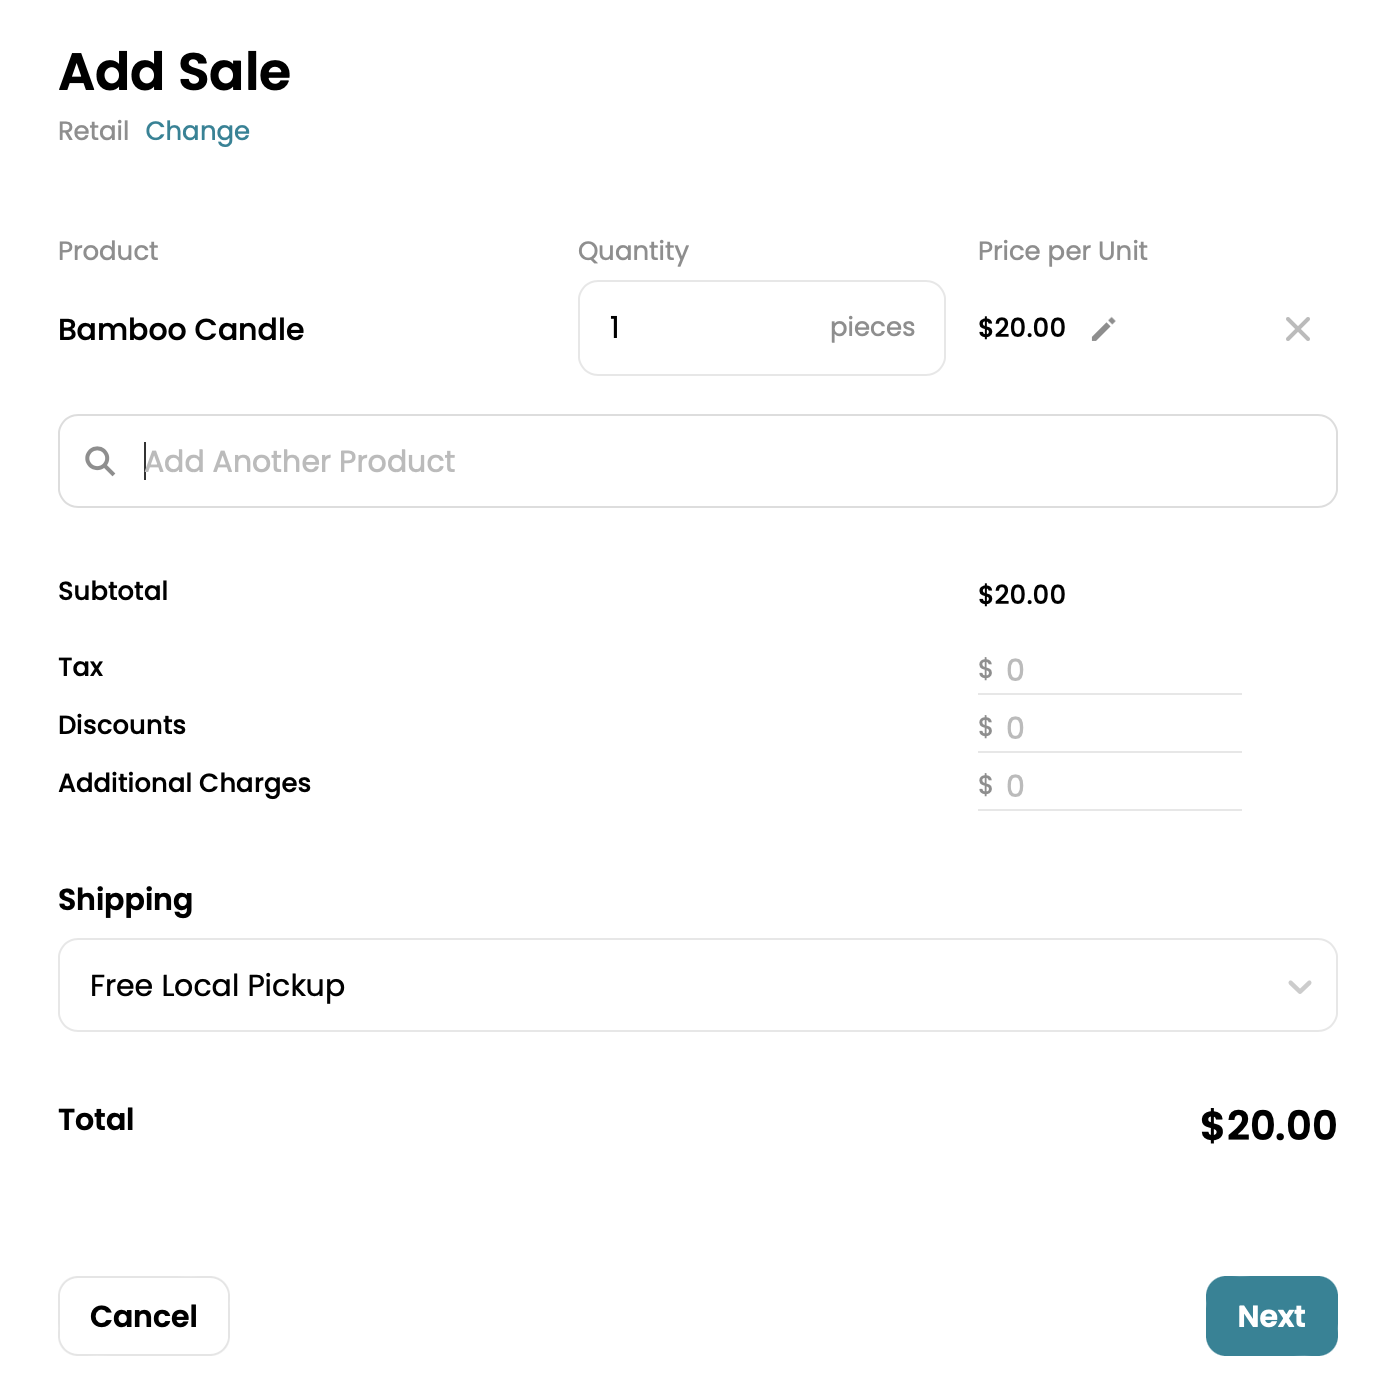
6. Add the **Products** and quantity you sold and additional sales details.
7. Click **Next**.
8. Choose how you want to prepare this sale and click **Create.**
{% hint style="info" %}
Inventora also syncs any sales that come through from your shops.
{% endhint %}
## Create an Invoice
1. From your dashboard, make sure you select **Sales** on the sidebar to access your Sales page.
2. Click on the **Sale** you want to create an invoice for.
3. On the sales card details, select the **\[...]**
4. Click on **Create Invoice**.
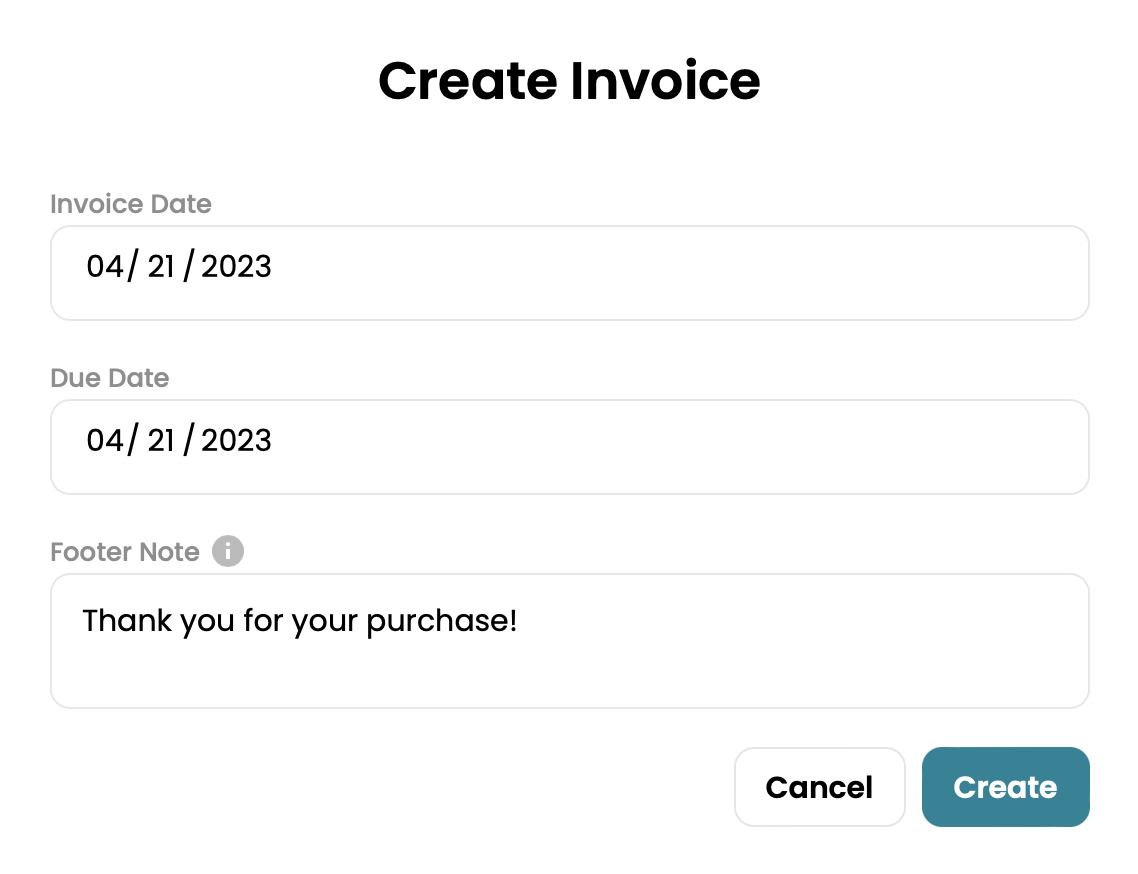
5. Add the invoice date, due date and footer note.
6. Click **Create.**
7. Click on **Open Invoice** to view your invoice or click **Done**.
{% embed url="" %}
{% hint style="info" %}
**Footer Notes** will be added to the bottom of each invoice.
{% endhint %}
## Add Custom Notes to Invoices
1. On the left sidebar, click on your **Business Name**.
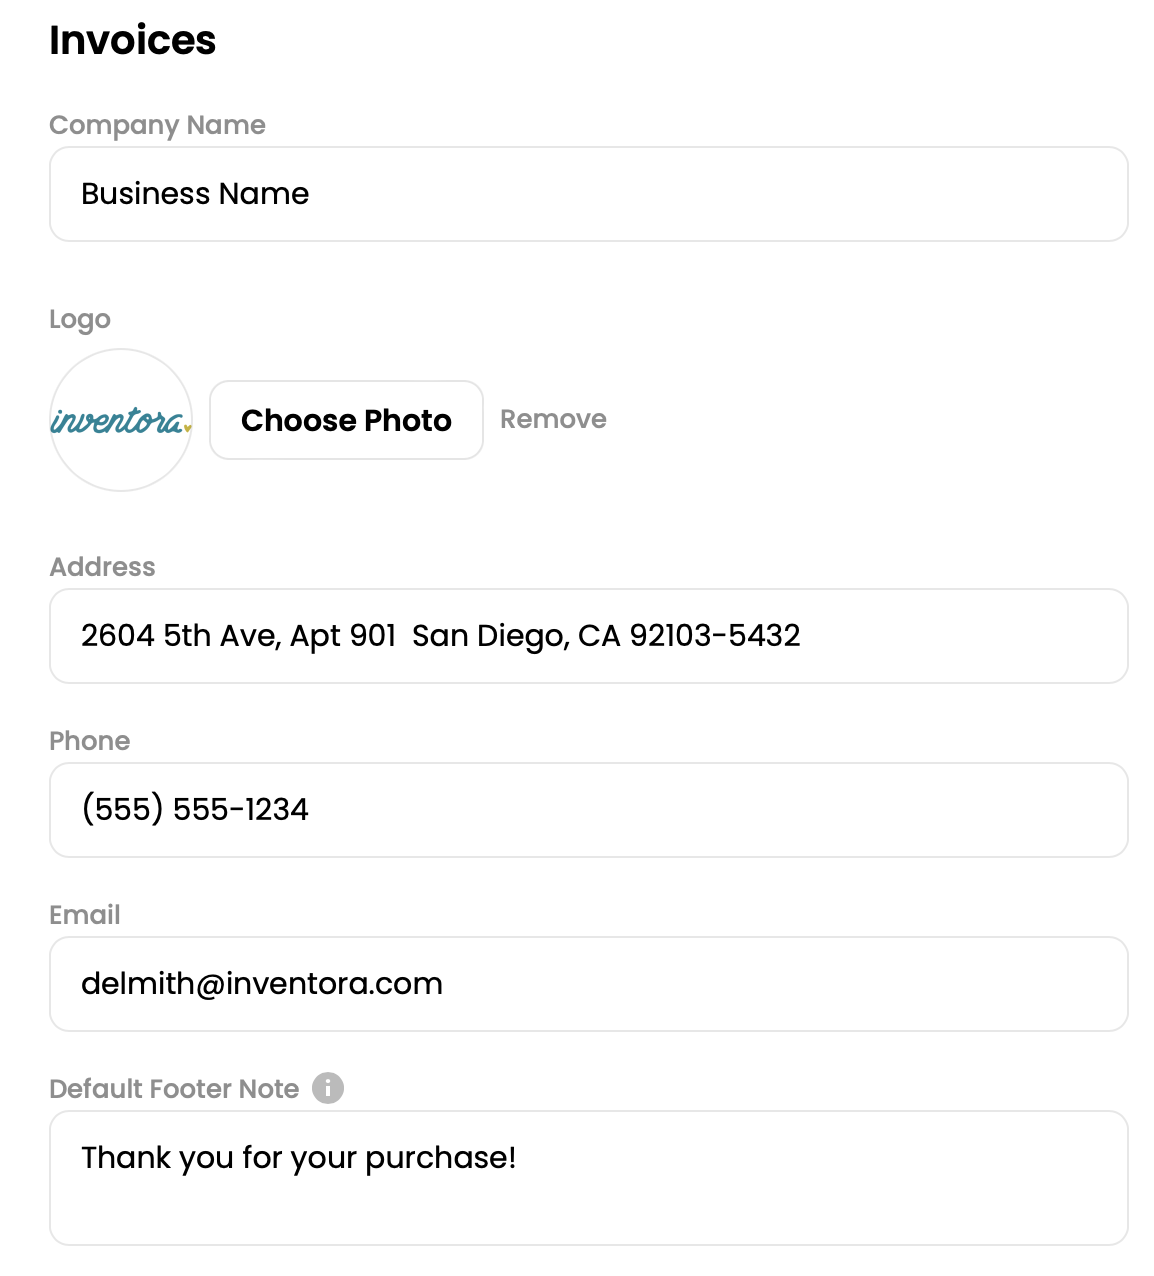
2. Visit **Settings** and scroll down to the **Invoices** section at the bottom.
3. Edit the information that is shown to the customer on an invoice that is generated with Inventora.
4. Generate an Invoice in order to see how the information you added looks.
5. Click **Save**.
{% hint style="info" %}
**Footer Notes** can be edited before creating each invoice.
{% endhint %}
{% embed url="" %}